
%202.jpg)

Creating Clips


Research clips help you show, not tell when speaking with stakeholders. They turn structured observations into lived experiences and make your findings more concrete, credible, and memorable.
In this lesson of our AI Insights & Analysis Course, you’ll learn how to create, organize, and share clips in a way that strengthens your insights without losing context or control.
Use cases for clips
Unlike generic screen recordings or manually trimmed videos, clips in User Interviews are:
- Automatically tied to the participant
- Linked directly to transcript context
- Anchored to exact timestamps
- Connected to your broader analysis
This means clips are not just isolated video snippets — they’re evidence-backed artifacts that support your synthesis. Clips are especially useful for gaining stakeholder buy-in, creating highlight reels, resolving internal debates, and building empathy in cross-functional teams. Ultimately, clips help you humanize your research.
How to create clips
You can create clips from three places within your project:
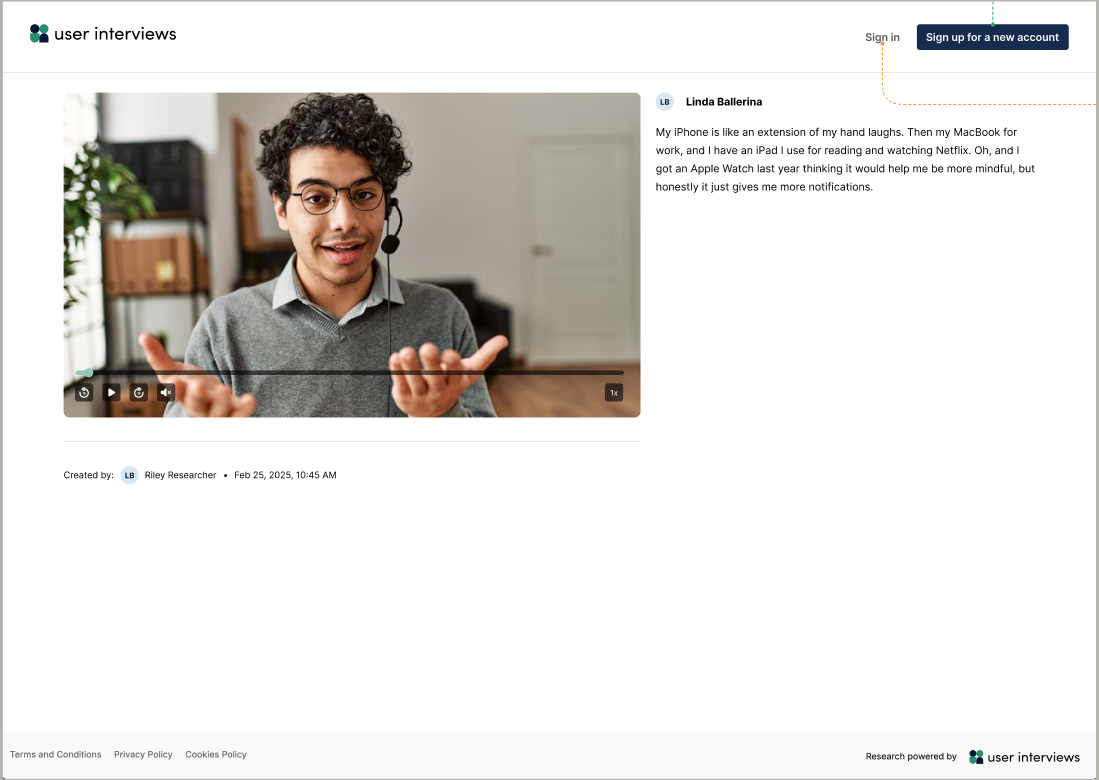
- From transcript highlights: When reviewing your transcript, highlight text directly in the transcript and click “clip.” The clip is automatically saved and timestamped.
- From session breakdown observations: From the sessions breakdown tab, simply click the citation number attached to an observation and select “create clip.”
- From data grid citations: When working with the data grid, click into a grid cell, open the citation, and create a clip.
To ensure traceability and easy verification, each clip automatically includes:
- The participant’s name
- The linked transcript
- The precise timestamp
- Highlighted transcript text at the selected moment
Organizing, managing, and sharing clips
All clips appear in the Clips tab within the Research Analysis section. Think of this space as your “evidence library.” From there, you can:
- Review clips across all participants
- Sort by date created or duration
- Revisit evidence as you finalize themes
To share clips, you can either copy and paste the link, or download the clip as an MP4. This flexibility allows you to easily work in multiple systems and create stakeholder-ready materials. Since clips are accessible from an individual page, you can share clips regardless of whether someone has a UI account.
Best practices for using clips
To get the most impact out of your clips, be sure to:
- Keep clips short (30–90 seconds)
- Pair clips with their context
- Confirm participant consent before sharing externally
- Combine sets of clips organized around research themes
- Coming soon: the ability to create and share reels

