
Organizing Members Into Hub Teams
Welcome to the Organizing Members Into Hub Teams lesson of the Team Building & Coordination with Research Hub course by the User Interviews Academy.
In this lesson, you’ll learn:
- What are Hub Teams
- Use cases and benefits of using Hub Teams
- How to create and manage teams in Hub
📹 Prefer watching to reading? This content is available as both an article and a video. Watch our Customer Success Manager, Kaylynn Knollmaier, take you through the content in the video below or keep reading to dive in!
What are Hub Teams?

Teams are groups of Hub members with controlled access to panels, shared assets, and customized settings. By using Teams to organize and manage access to your Research Hub panel, you can set team-level customizations for features like:
- Branding
- Templates
- Screener libraries
- Documents
- Contact rules
- Data permissions
For example, you can create one team for your marketers who use Research Hub for high-level conceptual research—with their own set of branding, templates, and other custom settings—and a different team for your UX researchers, who will likely want to use different customizations for their area of focus.
Owners (formerly Org Admins) can create teams, while Administrators (formerly Team Admins) have full edit rights to the teams they belong to. Members can belong to more than one team.
Note: Teams are available for Recruit Custom subscribers as well!
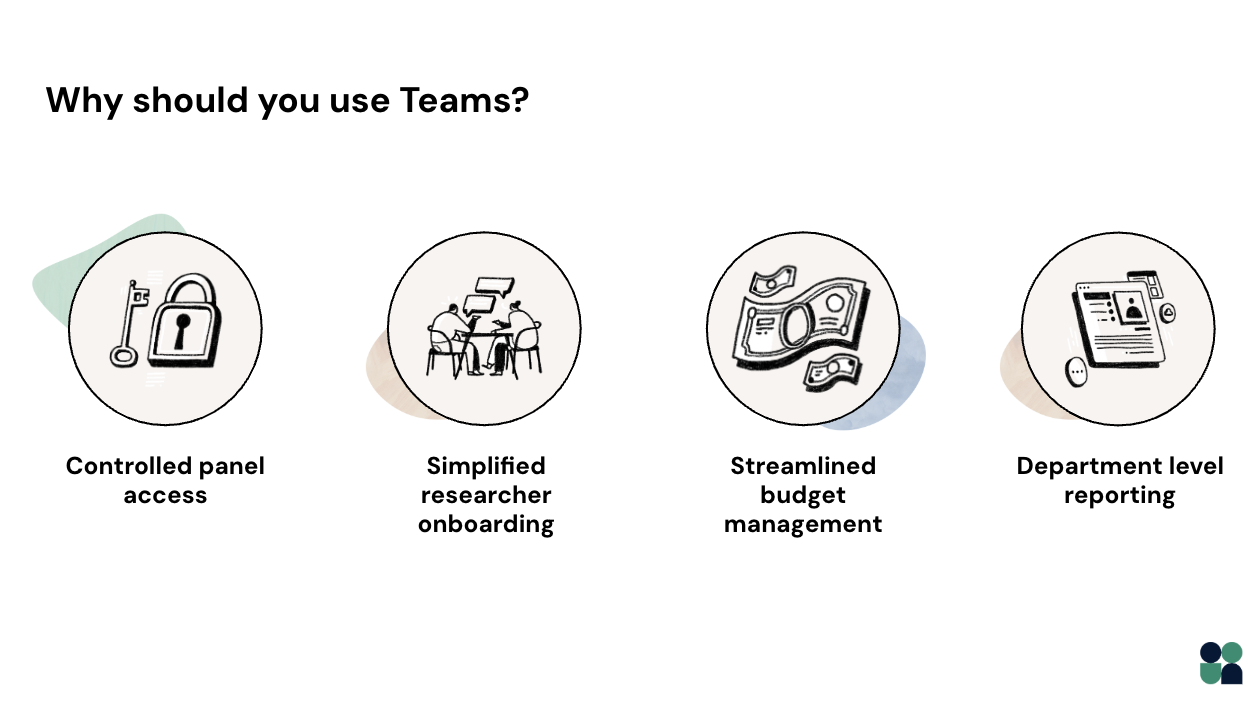
Why should you use Teams?

By organizing users into teams, you can easily and flexibly govern panel access, share assets, and customize settings. Customizations can be set at a global level or team-by-team, providing flexibility for organizations with highly specialized research needs.
Some of the most exciting use cases for Hub Teams includes:
- Controlled panel access: Now that teams can have unlimited panels within their organization, you can group your users in Teams to easily give folks access to the Panels they need—and only the panels they need. Learn more about unlimited panels here.
- Researcher onboarding: Admins can quickly onboard new users with the right guardrails in place, and everything they need to confidently launch a study, access curated panels, and safeguard the participant experience, on day one.
- Budget management: For Hub customers, teams who use prepaid budgets can share the budget with entire team(s) at once and use it to manage spend for that period. Recruit customers can track and manage session and incentives balances across their teams, so you know whether to reallocate or refresh your subscription package.
- Department-level reporting: By grouping users by their department or cost center, it’s easy to track which teams are running which projects. This is also an easy way to manage multiple research budgets when your funding doesn’t all come from one department.
How to create and manage Teams in Hub
Creating a team

If you’re an Owner on a Recruit Custom and/or Hub subscription, you’ll be able to create a Team by:
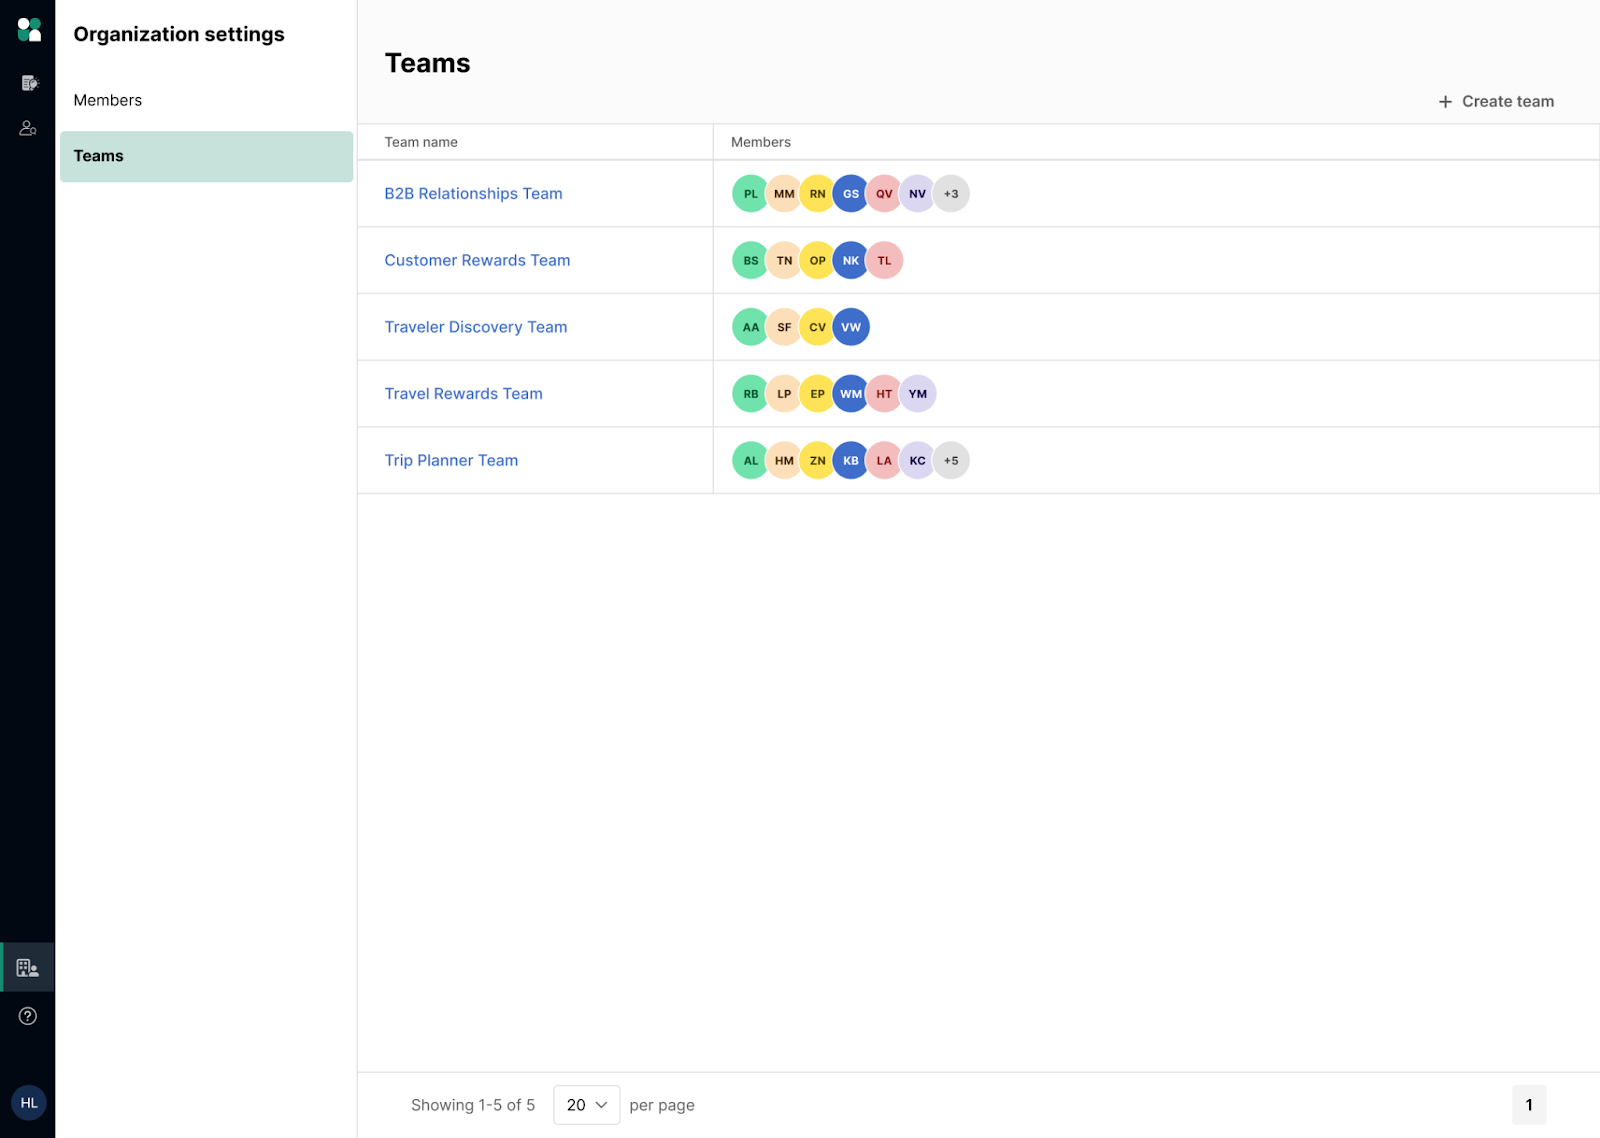
- Head to the Organization Settings section of the UI platform, then click on the Teams tab.
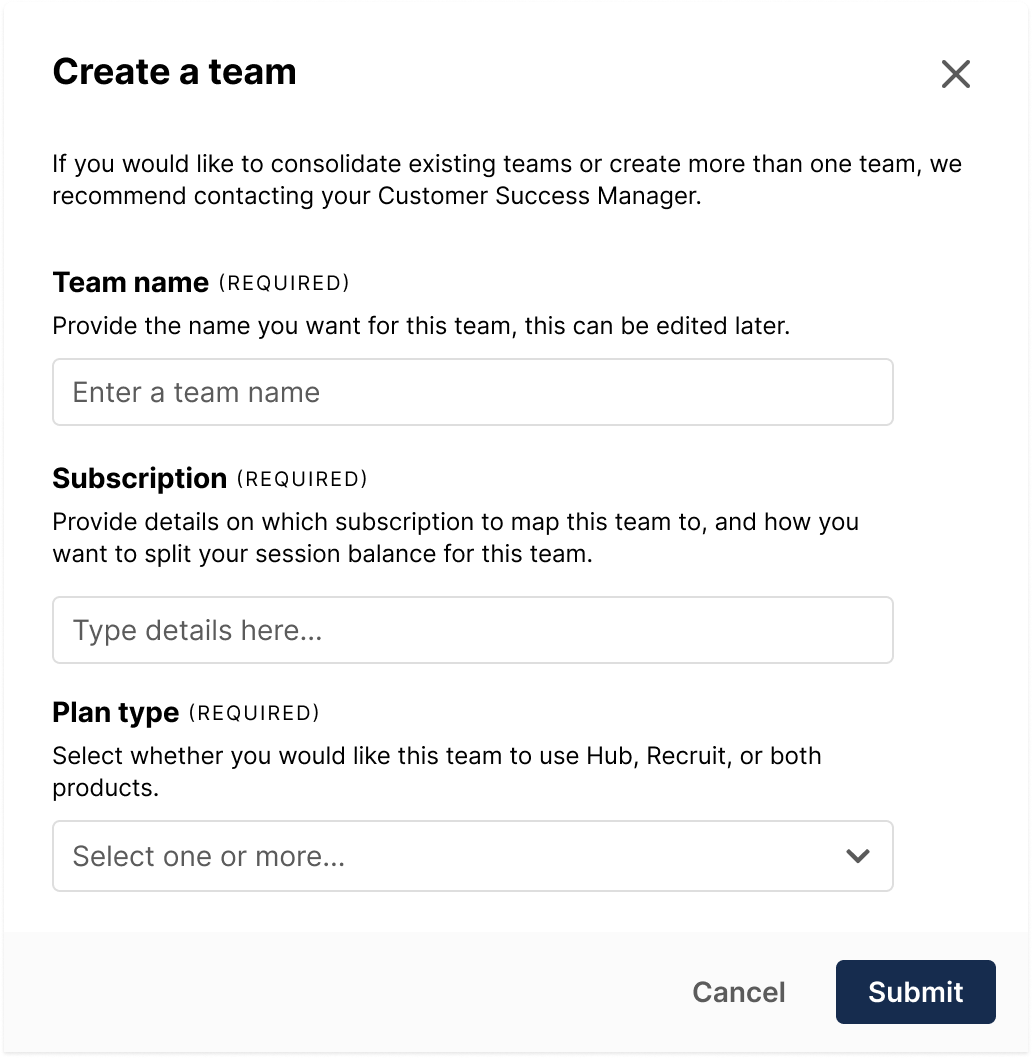
- Click the “Create team” button to build a new team. Note that only Owner roles on a Recruit Custom and/or Hub CRM subscription will see the “Create team” button.
- A modal form will pop up where you can name the team (this can be edited later), associate the team with a specific subscription and plan type.
- Once your team is created, you can also add a team logo, adjust the brand theme, set email templates, and add members.
- To set team-level customizations across billing, branding, reports, and other settings, simply choose the team from the dropdown list at the top of each tab of your Organization Settings page.
If you are adding multiple Teams for the first time or are interested in learning more, reach out to your Customer Success Manager, who can advise you on team structure and set up. If you plan to exceed five teams, reach out to your Account Manager.
Adding members to a team

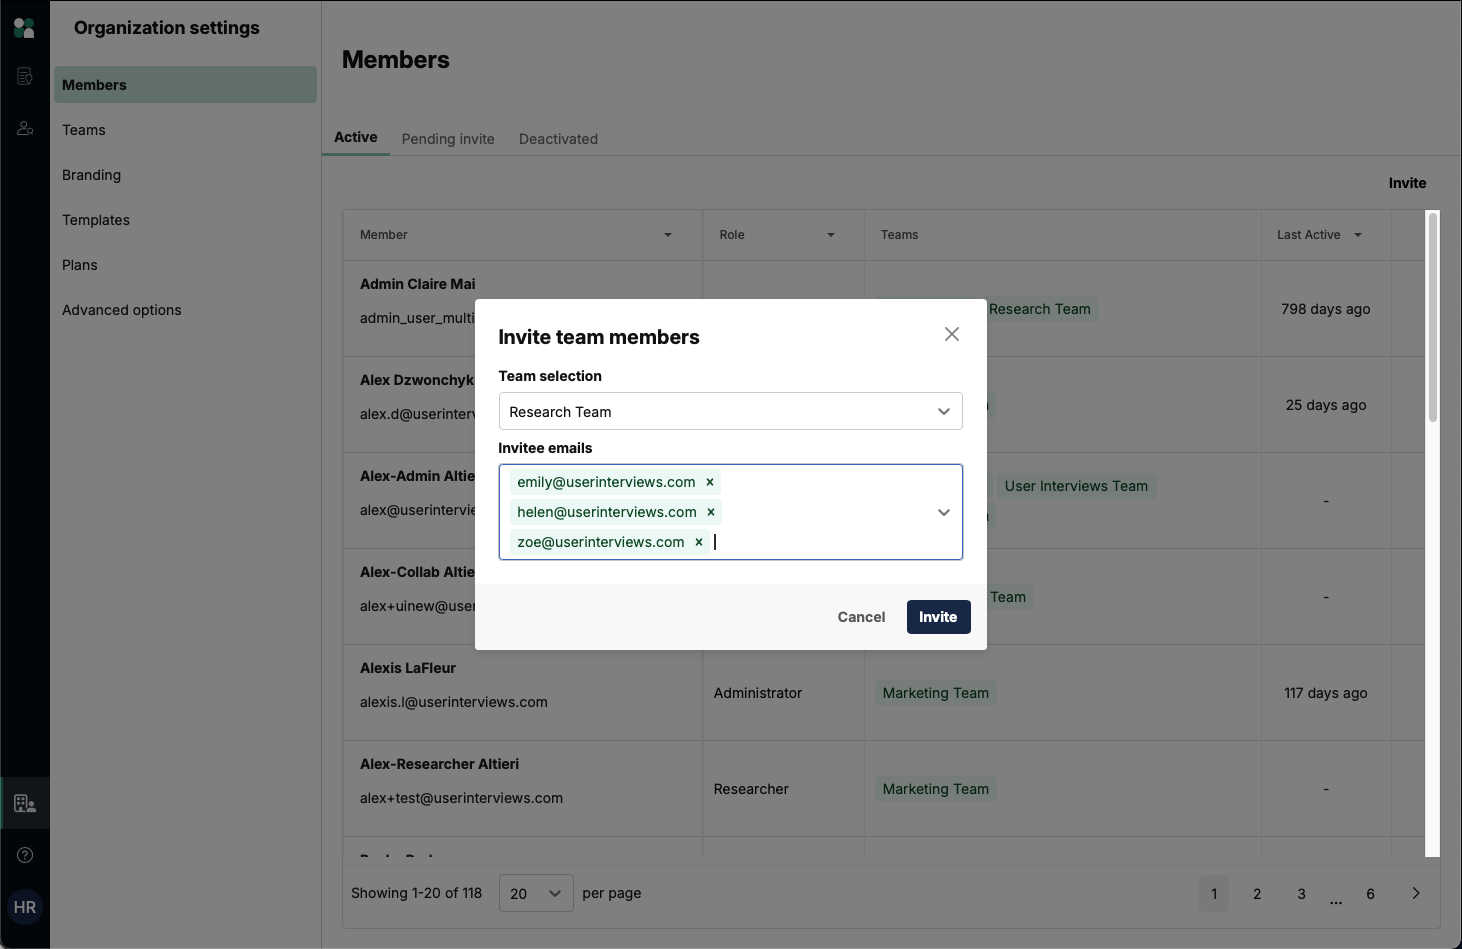
- Head to the Members page and click the “Invite” button to add members to a team.
- Select the team, and add the users you’d like to invite to that team. Once a user joins your organization, you’ll be able to add them to as many other teams as you’d like.
- Alternatively, you can click on the “Teams” column for a specific member. Owners can use the dropdown to add that member to any team in the organization, while Admins can add members to any team(s) they belong to.
Note: When a user who belongs to more than one team creates a new project (or duplicates/creates a project from a template), they will be prompted to select the team it belongs to. This ensures that the project will bill to the specified team.
Keep learning


Developing An Effective Training Program


